Pages

Showing posts with label Bread. Show all posts

Sunday, April 10, 2011

And the mystery recipe is....Stuffing? In April?! Oy Vey...

I'm browsing through one of my new vegan cookbooks, Color Me Vegan, and BAM, there it is... a recipe for stuffing. Mmmm... okay, now I want some stuffing! So all I can think about is stuffing, and I started thinking back to past Thanksgiving and Christmas feasts, remembering how much I enjoyed the stuffing David's mom always prepares... using muffins in place of stale bread!! Delicious! Last Christmas I actually made the muffins for Jacki's stuffing and it was as good as ever!

This time though I was ready to take on my own stuffing. I tried making stuffing once before; not bad, but not great either. Let's putting this way, I wouldn't go out of my way to make it again. So I decided NOW was the time to master stuffing (yes I'm a big dork), with two goals in mind: 1.) Use Muffins and 2.) 100% Vegan! Where would I get these vegan muffins though? What could be better than making homemade muffins using recipes from The 2011 Cookbook Challenge! That's right! 

So I decided to make three kinds of muffins: corn, apple walnut, and pumpkin spice! I wanted to try something new - the addition of pumpkin bread into stuffing was intriguing!

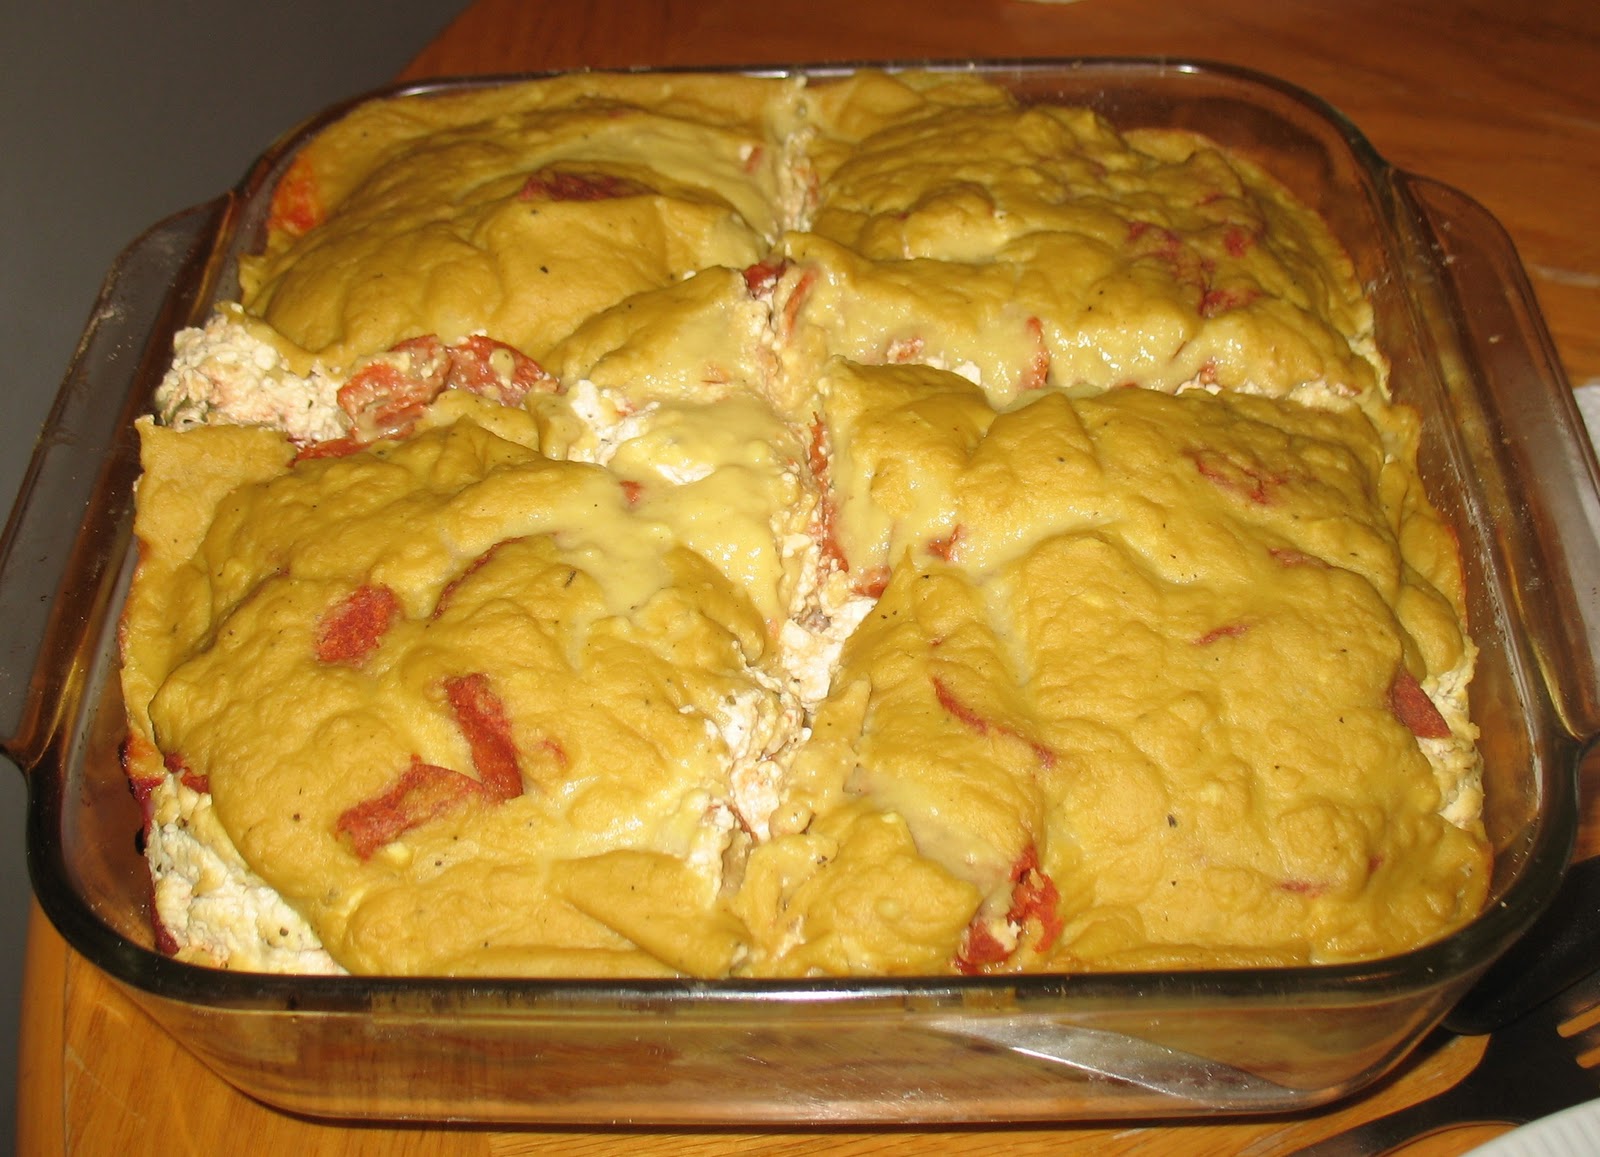
I made a fantastic stuffing! Normally I'm not so confident about my recipes but this was seriously delicious! I found that making the stuffing moist enough was the key to making this so wonderful!
So here's the recipe! I used the recipe from my vegan cookbook as a base and changed it up the way I wanted it. I hope you enjoy it! If you want the vegan muffin recipes that I used feel free to let me know and I'll send the recipes your way!


Apple, Cranberry, and Walnut Stuffing

Ingredients
  • 6 regular-sized corn muffins, cubed or crumbled
  • 3 large (or 6 regular-sized) pumpkin muffins, cubed or crumbled
  • 6 regular-sized apple walnut muffins, cubed and crumbled
  • 1-2 tbsp grapeseed oil
  • 1 large yellow onion, chopped
  • 3 stalks celery, finely chopped
  • 2 tsp dried sage
  • 1 tsp dried rosemary
  • 1/2 tsp dried thyme
  • 1/2 tsp dried tarragon
  • 1/2 tsp dried parsley
  • sea salt, to taste
  • fresh ground black pepper, to taste
  • 1 tart apple, cored, chopped, and unpeeled
  • 5.2 oz container dried cranberries
  • 1 cup walnuts, chopped
  • 1-1/2 - 2 cups vegetable stock, or more if needed
  • 2-3 tbsp nondairy butter (Earth Balance, soy-free), melted
Directions
  1. Preheat oven to 325 degrees F.
  2. In a large bowl, combine all of the muffins. Set aside.
  3. Heat oil in a large skillet and add the onion and celery. Cook on medium-high heat for about 10 minutes.
  4. Add the sage, rosemary, thyme, tarragon, parsley, salt and pepper. Stir to combine.
  5. Remove the skillet from the heat and transfer the mixture to the bowl of bread.
  6. Stir in the apple, cranberries, walnuts, and vegetable stock. Mix thoroughly.
  7. Add more vegetable stock if mixture is not moist enough.
  8. Transfer mixture to a casserole dish and drizzle with melted butter.
  9. Bake for aproximately 1 hour , or until the top is a golden-brown color.
  10. Serves 8-10.
Yummy!!

Now for those of you who do not like all the fruity/nutty stuff (a.k.a. David), I also made a vegan traditional stuffing! I made it the same exactly way except the bread consisted of 6 corn muffins and 1/2 loaf of French bread, omitting all the fruity muffins, chopped apples, cranberries and walnuts. Still great! 

Wednesday, April 6, 2011

March 13, 2011 Recipe #8: Irish Soda Bread

Ah-ha! The culprit of not following the recipes of The 2011 Cookbook Challenge according to my sequence generator! Honestly though, it makes sense to make Irish soda bread for St. Patrick's Day! Doesn't it?! And it's exactly what I did :)

I had never had Irish soda bread... it was delicious! Just spread a bit of butter (vegan butter) on it and, oh man, yum! Since I had made it for St. Patrick's Day, I served it with corned beef and cabbage (thanks to Allrecipes)! Yes, I'm still sticking to the vegan diet, so I didn't have the main dish, but David and his mom seemed to enjoy it!

This bread is also good lightly toasted with peanut butter and jelly! Mmmm...

I guess I do have one slightly negative comment about this recipe though. The directions have you knead the dough for only 10-12 strokes, but my batter was so wet, that I wasn't quite sure how to knead it with the consistency it was, so I decided to add a bit more flour to work with it a little better. The addition of more flour may have been a mistake though - the batter became tougher than expected, and once baked, the bread seemed a little dense. It was still good though! Also, the addition of raisins or nuts would be good in this bread!

Wednesday, February 16, 2011

Valentine's Day 2011 Recap

I hope everyone had a nice Valentine's Day! It's always nice spending this special day with loved ones (or talking on the phone), whether it's a significant other, family, or friends! Of course we always celebrate year-round, being surrounded by our loved ones, but I like to make this day extra special with David (all though, come to think of it, we have quite a few extra special days)!

So David woke up the morning of Valentine's Day with post-it notes EVERYWHERE! In the pockets of his work pants, the pocket of his work shirt, in his shoes, on the bathroom mirrors, on his car, in his lunch bag, on his coffee mug... I mean EVERYWHERE! Ha! I had wrote little love notes on about 20 post-its and put them in random places for David to find. What can I say? I love the guy, and I wanted to do something cute and cheezy!

David had tulips sent to the house... my favorite :) One day, I want to be able to grow my own tulips - they are so beautiful, but I feel I don't have the space to grow my own garden right now.

We decided to spend our Valentine's Day with a special homemade dinner. David had requested pasta with a meaty marinara sauce and garlic bread. The day before Valentine's Day I decided to take on a challenge and make my own French bread to make the garlic bread. I found a great recipe on Allrecipes! Turns out, French bread is for everyone! Vegans and non-vegans! It is very simple to make too! The only non-vegan step involved in making this bread is an egg-wash that is brushed on the dough before baking it - this is to just give the bread a nice, crusty, dark color though, which can also be done with milk! Since I wanted to try this French bread too, my "egg-wash" substitute was almond milk - perfect!


Ingredients
  • 1 pkg active dry yeast
  • 1 cup warm water
  • 2 tbsp sugar
  • 2 tbsp vegetable oil
  • 1 tsp salt
  • 3 cups all-purpose flour
  • Cornmeal
  • 1-2 tbsp almond milk
Directions
  1. In a large mixing bowl, dissolve the yeast in warm water. Let the mixture sit for 10 minutes, allowing the yeast to activate.
  2. Add the sugar, oil, salt and 2 cups flour. Stir the mixture until well-blended. Stir in enough remaining flour to form a stiff dough.
  3. Turn the dough onto a floured surface. Knead the dough until it is smooth and elastic, about 6-8 minutes.
  4. Place the dough in a greased bowl, turning it on all sides so the dough will not stick to the bowl. Cover, with a piece of plastic wrap or a damp towel, and let rise in a warm place until doubled, about 1 hour (I usually place my dough in the oven. I warm up the oven a little, but not too much, before setting the dough in there).
  5. Punch the dough down. Allow the dough to rest for about 10 minutes, then cover the bowl and let rise again for 30 minutes.
  6. Punch the dough down again. Turn the dough onto a lightly floured surface. Shape it into a loaf (16 in. long x 2-1/2 in. wide) with tapered ends.
  7. Sprinkle a greased baking sheet with cornmeal and place the loaf on the baking sheet. Cover the dough and let it rise until doubled, about 25 minutes.
  8. Brush almond milk over the dough. With a sharp knife, make diagonal slashes 2 in. apart across top of loaf.
  9. Bake at 375 degrees F for 25-30 minutes or until golden brown.
  10. Remove from pan to a wire rack to cool.

Unfortunately, my bread didn't rise as much as I would have wanted it to, so I didn't take a picture (to spare my embarrassment LOL). I don't know if my yeast wasn't activated enough (water may have been too warm, potentially killing the yeast) or if I had accidently formed the dough into something too long and wide. Who knows, I will do better next time!
 
The day of Valentine's Day I sliced up the bread and layed the slices on a baking sheet. I minced fresh garlic and put it in a small pan with vegan butter, allowing the garlic to saute a little in the melted butter. I then brushed the butter-garlic mixture on the tops of the sliced bread and sprinkled veggie parmesan cheese on top. All vegan and you would never even know it! I turned the broiler on and put the garlic bread in the oven for about 2 minutes - Perfect! David loved it!
 
For dessert, I made David's favorite... Gingerbread Cookies! I made one big cookie for him with lots of little heart-shaped cookies on the side. Since this was all for David, I did not "veganize" the recipe... they are perfect the way they are :)
 
I love Valentine's Day because it gives me a chance to get all creative and gives me a GREAT excuse to be beyond CHEEZY! LOL. I love it!


Saturday, January 29, 2011

January 25, 2011 Recipe #4: Cornbread

After a long day at school, I don't know how I managed to find the energy, but I decided to take on Recipe #4 of The 2011 Cookbook Challenge: Cornbread! So it's 5:30 pm, just got home (after being at school since 6:45 am - I'm crazy) and I start making this cornbread, along with a fresh pot of chili (keep posted for a blog about my new chili recipe). I was done in an hour, exhausted, but still had quite an appetite!

Well, the cornbread was good, but it was nothing to go bragging about. It wasn't horrible but it wasn't great either. As I ate a piece of cornbread though, I just craved butter. Okay, for those of you who don't know me, I really don't care for butter... so for me to crave butter is just shockingly wierd! BUT I will tell you, that spread a little butter on this cornbread and it is so delicious! Since I have been trying the vegan diet, I used Earth Balance Natural Buttery Spread which is quite tasty! I couldn't tell the difference between this butter and regular butter. David liked the cornbread with a little butter but he prefers the sweet cornbread over this cornbread recipe (unsweet).

David had a great idea: to use the leftover cornbread in stuffing! I'll let you know if I end up doing this.

Friday, January 21, 2011

The Ugly Little Vegan Pizza

Every Sunday we have dinner with David's mom and I like to change up our meals once in a while. Well, this past sunday was homemade pizza! Of course, since I've been all about veganism these past few weeks, I decided to come up with a special pizza for myself. It didn't turn out too pretty, but I had to share it with you because it was DELCIOUS! I had this three nights in a row and by the third night, I was still craving more!

Here's how my ugly little vegan pizza was made:
  1. Herb Crust Pan Pizza: Thanks to VegWeb!
  2. Sauce: a combination of tomato sauce, tomato paste, and italian seasoning
  3. Sun-dried tomatoes, soaked in water for 15-20 minutes
  4. Thinly-sliced green bell pepper and red onion, sauteed in olive oil, salt, pepper, and garlic powder
  5. Tofu Ricotta: Thanks to Veganomicon!
  6. Tofu pepperoni: Sold in local grocery stores!
  7. Cheezy Sauce: Again, thanks to Veganomicon!
I placed the pizza dough into an 8x8 Pyrex dish, then layered it with the rest of the ingredients. I happened to have leftover cheezy sauce from the first time I made it, which I had froze. So I decided to use it on my pizza; I thawed it out, reheated it, then poured it over the top of the pizza. I baked the pizza at 425 degrees F for 15-20 minutes. Delicious, yet ugly!

Saturday, December 4, 2010

A bread to call my own!

Honey Oat Quick Bread: A bread you can make that doesn't require kneading and bakes fairly quickly! In the past I have always followed this recipe to a tee. But it's time for me to get out and venture a little! Thanks to Shannon (over at The Road Less Traveled) I am taking the challenge! And I have succeeded!

I decided I wanted to make this recipe even healthier than what the original recipe called for. So here was my challenge: to omit the vegetable oil, egg, and even the milk! I did my research and learned how to substitute for these ingredients! A much healthier option! So I wanted to share this with all of you!

So the first thing I wanted to figure out was: How can I substitute eggs in a recipe? I remembered a while back that I read how ground flax seeds could replace eggs. I was randomly browsing through recipes (like I always do) on http://www.food.com/ and I found this great recipe for an egg substitute:

Flax vegan egg substitute (http://www.food.com/)

Ingredients
  • 1 tablespoon ground flax seeds
  • 2 -3 tablespoons water  
Directions 
  1. Simmer flax seeds and water in a saucepan for about 5 minutes (or less or more time depending on the amount you are making) or until thick, egg-like consistency has been reached.
  2. Let cool before using in a recipe.
  3. This recipe makes the equivalency of 1 egg 
THEN, I knew I wanted to replace the oil with something healthier. Applesauce was perfect (since I had just recently made some) to make this substitution, as well as some extra fat free yogurt! 

So here we have it: Rachel's version of honey oat quick bread! Wait, I must give it a new name though! I will call it:

The Almighy, Health-crazed, Kneadless, Eggless, Good-For-You, Experimental, Honey-Wheat Oatmeal Loaf - (I knew you would like that name, ha!)

Ingredients
  • 2 ½ tablespoons water
  • 1 tablespoon flax seeds, ground
  • 2 T + 1 cup oats
  • 1 cups oats, ground
  • 1 cup whole wheat flour
  • 2 ¼ teaspoons baking powder
  • ¼ teaspoon baking soda
  • 1 teaspoon salt
  • 14 oz nonfat yogurt, plain
  • ¼ cup honey
  • ½ cup cinnamon applesauce, heaping (see recipe for Rachel's Chunky Cinnamon Applesauce)

 Directions 
  1. Simmer water and flax seeds in a saucepan for approximately 5 minutes (may require less time) or until a thick, egg-like consistancy has been reached. Let the mixture cool before using it in the recipe.
  2. Preheat oven to 375 degree F. Grease a 9x5 loaf pan. Sprinkle 1 tablespoon of oats in the bottom of the pan.
  3. In a medium bowl, mix together the ground oats, whole wheat flour, baking powder, baking soda, and salt.
  4. In a large bowl, whisk together the flax seed mixture, 1 cup of oats, yogurt, honey, and applesauce until well blended.
  5. Gently add the dry flour mixture into the wet yogurt mixture and stir to combine (do not overmix)
  6. Pour the batter into the pan. Sprinkle 1 tablespoon of oats on top of the batter.
  7. Bake at 375 degrees F for 40-50 minutes or until toothpick inserted comes out clean.
*Tip: Use a coffee grinder to grind whole flax seeds or oats!
*Yield: 1 loaf (12 servings/slices) 
 
Now, I am a bit particular about how I eat this fabulous bread though! I love to lightly toast each slice and top it with peanut butter and jam! My favorite! And I would just like to extend a very big thank you to my Aunt Karen for giving me homemade jam! The peach melba went great with my bread! Thanks again!