Pages

Showing posts with label Raw. Show all posts

Tuesday, March 29, 2011

The Unnamed Dessert = Bad News!

This is the #1 dessert you go to when you are craving something bad! Chocolate and almonds made into a rich, raw, frozen dessert that will make you say MMMMMM!! The best part: only natural ingredients are used... it's naturally sweet and full of the good fats! Careful not to have too much though, as this dessert is packed with calories! I am guilty for overloading on this! Shhh...  Once you try this, you will understand :)

Here it is... It's called The Unnamed Dessert! I came across this recipe on Healthy Girl's Kitchen. If I were to name this dessert though, I think I would call it "The Satisfy-Your-Chocolate-Crave Brick." Ha! This is delicious and I love it, but definitely dense!
 
The Unnamed Dessert

Ingredients
  • 16 ounces Medjool dates, pitted
  • 2 cups of almond milk
  • 10 oz almond butter 
  • 1 tsp vanilla
  • 2/3 cup cocoa powder
  • 2 cups raw almonds, chopped
Directions
  1. Place the dates in a container and pour the almond milk over the dates. Place the container in the refrigerator and allow to soak overnight.
  2. Pour the dates and almond milk mix into a food processor.
  3. Add the almond butter, vanilla, and cocoa powder. Blend until the mixture is smooth and spreadable.
  4. Into a 9x9 casserole dish, sprinkle a thin layer of almonds on the bottom of the dish.
  5. Pour the date mixture on top of the almond layer.
  6. Add the remaining almonds to the top of the date mixture.
  7. Freeze overnight or until frozen solid before serving.
  8. Cut into squares and serve frozen.

Tuesday, February 8, 2011

Super Bowl XLV Hors d'œuvre Night!

What's better than hors d'œuvres for Super Bowl Sunday?! Woohoo! Although the Pittsburgh Steeler's didn't quite make the spotlight, we still had a nice and fun dinner watching the game, especially those commercials!

The Super Bowl XLV Menu:

Tuscan Bean Dip with Assorted Fresh Vegetables
Loaded-Veggie Nori Rolls
My Crazy-Healthy Experimental Nori Rolls
Baked  Spring Rolls
Homemade Nutella Spreads with Assorted Fresh Fruit
Front: Hazelnut Nutella
Back: Almond and Cashew Nutella

#1 Tuscan Bean Dip by Food Network

  Ingredients
  • 2-4 tbsp olive oil
  • 4-6 cloves garlic, minced
  • 1-2 tbsp fresh rosemary leaves
  • 1 (15-oz) can cannellini (northern) beans, drained and rinsed
  • 1/2-1 tsp sea salt
  • Pinch cayenne pepper
  • Fresh vegetables for dipping: carrots, celery, red and green bell pepper, cucumber, broccoli
Directions
  1. Heat oil and garlic in a small skillet over medium-high heat. Stir garlic until golden, about 3 minutes.
  2. Pull skillet from heat; stir in rosemary and cool slightly.
  3. In a food processor, add the beans, salt, cayenne pepper and rosemary oil. Process until smooth.
  4. Scrape the puree into a serving bowl.
  5. Serve dip with fresh raw veggies!
This bean dip is so delicious! A friend brought it over one time and I just loved it! I used to be all over blue cheese when fresh vegetables were near, but I'd never go back after trying this bean dip! I also never cared for rosemary until I tried this dip. Let me tell you, fresh rosemary is very different than dried, and it adds a wonderful flavor to this bean dip! I hope you enjoy it as much as I do! Yum!

 
#2 Loaded-Veggie Nori Rolls

  
#3 My Crazy-Healthy Experimental Nori Rolls

Ingredients
  • 4 nori sheets
  • 1 recipe Veganomicon's Sun-Dried Tomato Dip
  • Sun flower seeds
  • Carrots, julienned
  • Cucumber, julienned
  • Red bell pepper, thinly sliced
  • Avocado, thinly sliced
  • Alfalfa sprouts
Directions
  1. Using a bamboo mat, place a nori sheet on top of it, add approximately 1/4 cup tomato dip on 2/3 of the nori sheet (closest to you). On top of the dip (on the closest part of the nori sheet to you), sprinkle sunflower seeds on top, then top with remaining ingredients. Be sure not to pile too many veggies on top, as it will be difficult to roll!
  2. Take the end of nori closest to you, and begin to roll up and over the vegetables. Use the bamboo mat to tighten that portion of the roll. Continue to roll (with the use of your bamboo mat) until the entire sheet is rolled up. Place on a plate, allowing the nori roll to soften, while you continue making the next rolls.
  3. When all 4 nori rolls are made, starting with the first one made, wet a knife and cut each roll into 6-8 pieces. Wetting the knife aids in the slicing process. 
I won't be posting Veganomicon's Sun-Dried Tomato Dip recipe unless it is requested. Unfortunately, I didn't really care much for it. I would like to try this same nori roll with hummus next time, maybe some pine nuts, and fresh basil! I will post this if I do! 

 
#4 Baked spring rolls (Click to view original recipe)

Ingredients
  • 2 cups grated carrots
  • 1 (14.5 ounce) can chop suey vegetables, drained
  • 1 (8-oz) can water chestnuts, chopped
  • 1/2 green pepper, chopped
  • 1 bunch green onions, chopped
  • 1 garlic clove, minced
  • 1 (15-oz) can black beans, drained and rinsed
  • 4 teaspoons cornstarch
  • 1 tablespoon water
  • 1 tablespoon light soy sauce
  • 1 teaspoon vegetable oil
  • 1 teaspoon brown sugar
  • Pinch cayenne pepper
  • 16 rice paper wrappers (can purchase at an Asian market)
Directions
  1. Heat a large skillet with olive oil and add the first six ingredients. Cook and stir over medium heat until vegetable are crisp-tender, about 3 minutes. Add the beans; heat through.
  2. In a small bowl, combine the cornstarch, water, soy sauce, oil, brown sugar and cayenne until smooth; stir into the vegetable mixture and bring to a boil. Cook and stir for 2 minutes; remove from the heat.
  3. Fill a large bowl with warm water. One at a time, dip the rice paper in the water for 20-30 seconds until it becomes soft and flexible. Lay on a flat surface. Spoon 1/4 cup of the vegetable mixture on the bottom third of the rice papper; fold sides toward center and roll tightly. Place seam side down on a baking sheet coated with nonstick cooking spray. Repeat with remaining rice paper wrappers and filling. Spray the tops of the spring rolls with nonstick cooking spray. Bake at 425 degrees F for 20-25 minutes or until lightly browned.
These spring rolls were DELICIOUS! I highly recommend them! The only issue I had was with the rice paper wrappers...  I had made all of the rolls early in the day, so I refrigerated them in a tupperware container. As they sat in the fridge, each roll clung to one another, so when I went to take them out of the container they were stuck together! The rice paper is very delicate once it gets soft, so it tore easily when I tried to separate them all. Due to this issue, we had to eat these rolls with a fork, but this didn't take away from the delicious flavor at all! I will definitely be making these again!


#5 Wings from Frankie's Wings & Things

Of course when you have appetizers, and you're around David, you can't forget the wings! These are great but unfortunately I didn't get to have any this time around due to my recent vegan choices. They smelled delicious though, as always! My saliva glands were going crazy when I was serving them LOL! 

 
#6 Homemade Nutella Spreads (Click to view original recipe)

Hazelnut Nutella:

Ingredients
  • 1/2 cup hazelnuts
  • 1/4 cup powdered sugar
  • 1 tbsp cocoa powder
  • 1-2 tbsp vegetable oil
  • water (optional)
  • Assorted fresh fruit for dipping: sliced banana, sliced granny smith apples, sliced braeburn apples, strawberries, green grapes 
Almond and Cashew Nutella:

Ingredients
  • 1/2 cup almonds, blanched
  • 1/2 cup cashews
  • 1/2 cup (scant) powdered sugar
  • 2 tbsp cocoa powder
  • 2 tbsp vegetable oil
  • Assorted fresh fruit for dipping: sliced banana, sliced granny smith apples, sliced braeburn apples, strawberries, green grapes 
Directions
  1. Place the nuts in a food processor and process until the nuts start to clump together in a ball, at least 5 minutes, if not more.
  2. Add the powdered sugar and cocoa powder and process again for 2 to 3 minutes, until the mixture is well combined.
  3. Drizzle in enough oil to make a spread. If the consistancy is not right after the addition of oil, add a bit of water (I had to do this for the hazelnut spread).
  4. Store in an airtight container in the refrigerator for 4 to 6 weeks. Serve with fresh fruit, graham crackers, or spread on bread!
The homemade nutella spread was posted from One Perfect Bite, who seems to always be posting fun and exciting recipes!

Hope you like the menu! Some of the hors d'œuvres were a little time-consuming, but all worth it! Enjoy!


Sunday, February 6, 2011

Raw Chocolate-Mint Pie

So I saw this raw dessert on VegWeb and just knew I had to try it. I mean come on, a dessert that has avocados in it?! I would never imagine such a thing! And from the picture, would you even guess it was avocados? Let me tell you - you would never know they were in this! This dessert was great chilled in the refriegerator or as a tasty frozen treat! I think my favorite part was the crust though - the combination of nuts, dates and cocoa powder was just delightful!

This recipe was posted by Sketch-free Vegan Eating and I decided to start following their blog - they post a lot of fun and healthy vegan recipes!

When I made the raw chocolate-mint pie, I made a few changes, but it still turned out wonderful! Hope you enjoy this!

Raw Chocolate-Mint Pie (Click to view Sketch-free Vegan Eating's original recipe, Click to view recipe posted to VegWeb)

Ingredients

For the crust:
  • 1/2 - 3/4 cup almond milk pulp
  • 1/2 cup packed Medjool dates (~ 8 dates)
  • 1 (8-oz) container cashews
  • 1/4 cup cocoa powder
  • 2 tablespoons coconut oil
  • 1/2 teaspoon vanilla extract
  • pinch sea salt
For the filling:
  • 2 large avocados
  • 1/2 cup melted coconut oil
  • 1/4 cup agave syrup
  • 1 tsp peppermint extract
  • 1/4 cup fresh mint leaves, chopped
  • 1 teaspoon lemon juice
For the ganache:
  • 1/2 cup cocoa powder
  • 1/4 cup agave syrup
  • 2 tablespoons water
  • 2 tablespoons coconut oil
  • pinch sea salt
Directions
  1. To prepare the crust: In a food processor, add all of the crust ingredients and process until well combined. Press into an 8-inch pie pan. Chill in the refrigerator until firm. Clean the food processor for the next step.
  2. To prepare the filling: In  a clean food processor, add all of the filling ingredients and process until well combined and creamy. Pour the filling into the chilled crust; chill in the refrigerator until it is set. 
  3. To prepare the ganache: In a small bowl, add all of the ganache ingredients and combine until smooth. Pour the ganache over filling. Use the back of a spoon to help spread it out over the pie. This must be done pretty quickly - the ganache will start to harden once it touches the chilled filling. Chill the pie until ready to serve. Can freeze or refrigerate.


Tuesday, February 1, 2011

Homemade Almond Milk: Take 3

Happy with the recommended ratio of almonds to water for almond milk from Run Hard Eat Clean, I decided the missing ingredient from Homemade Almond Milk: Take 2 was sweetener! Rather than using sugar though, it is a little healthier to use natural sweeteners such as agave nectar or honey! Now most vegans eliminate honey from their diet, but I'm keeping it in mine! If you are curious to know why honey is not vegan, click here. Shannon calls me a psuedo-vegan, but I'm okay with that!

Homemade Almond Milk

Ingredients 
  • 1/2 cup almonds, blanched
  • 2-1/2 cups water, divided
  • 1 tbsp honey (or agave nectar)
Directions
  1. In a blender, add cups of water, almonds, and honey. Blend until a creamy consistancy forms. Depending on how creamy you prefer your almond milk, you may need to add more or less water or almonds. It's your preference though!
  2. Hold a mesh strainer over a bowl and strain the almond milk. Store the almond milk in a jar/pitcher/plastic bottle and keep refrigerated. Keep the pulp refrigerated until ready to use (good to use in raw desserts!). Shake milk before using if it separates while sitting in the refrigerater.
    
The addition of honey gives the milk a perfect touch of sweetness! I use it in cereal, which I love! Yummy and oh-so fresh!

Monday, January 31, 2011

Homemade Almond Milk: Take 2

Fresh Almond Milk
After my first experience with homemade almond milk, and it not quite failing, but not up-to-par either (a little on the watery side), I decided to give almond milk another shot! I found a different recipe that I figured was a better beginner's recipe. Very simple: just water and almonds! But I learned a new technique: how to blanch almonds! It is recommended to blanch almonds (remove their skins) before using them in almond milk because the skin tends add a slightly bitter taste. I found a recipe through Vegan Reader which I wanted to share with all of you!

Almond Milk

Ingredients
  • 1/3 cup raw almonds
  • 3 cups water, divided
(That's it?! Yup, that's it!)

Directions
  1. In a small pot, bring 1 cup of water to a boil. Add the almonds and boil for 3 minutes.
  2. Drain using a mesh strainer.
  3. Pour the almonds on a plate and let them cool slightly.
  4. When the almonds are cool enough to touch, remove the almonds from their skin. This is very easy, the almonds will pop right out. Naked almonds!
  5. In a blender, add 2 cups of water and the naked almonds. Blend until a creamy consistancy forms. Depending on how creamy you prefer your almond milk, you may need to add more or less water or almonds. It's your preference though!
  6. Hold a mesh strainer over a bowl and strain the almond milk. A lovely result - fresh almond milk in your bowl and "pulp" in your mesh strainer, which can be used in desserts, such as raw chocolate chip cookies! Store the almond milk in a jar/pitcher/plastic bottle and keep refrigerated. Keep the pulp refrigerated until ready to use. You may notice the almond milk separates a bit while sitting in the fridge - no worries! Just shake it up before using.
I enjoyed learning how to blanch almonds and this was definitely a great recipe to use for those new at making almond milk! But I felt there was something missing in this recipe.... stay tuned for Homemade Almond Milk: Take 3!


Thursday, January 27, 2011

Raw Chocolate Chip Cookies

I came across this raw cookie recipes with... get this... HOMEMADE CHOCOLATE CHIPS! Now this I seriously had to try!

Interestingly, this recipe comes from Oh She Glows, which couldn't be a more perect website for me. I felt I could really relate to this individual and her story so much. If you get a chance, you should read about Angela Liddon and how her passion for cooking came along.

Raw Chocolate Chip Cookies (Click for Oh She Glow's Original Recipe) 

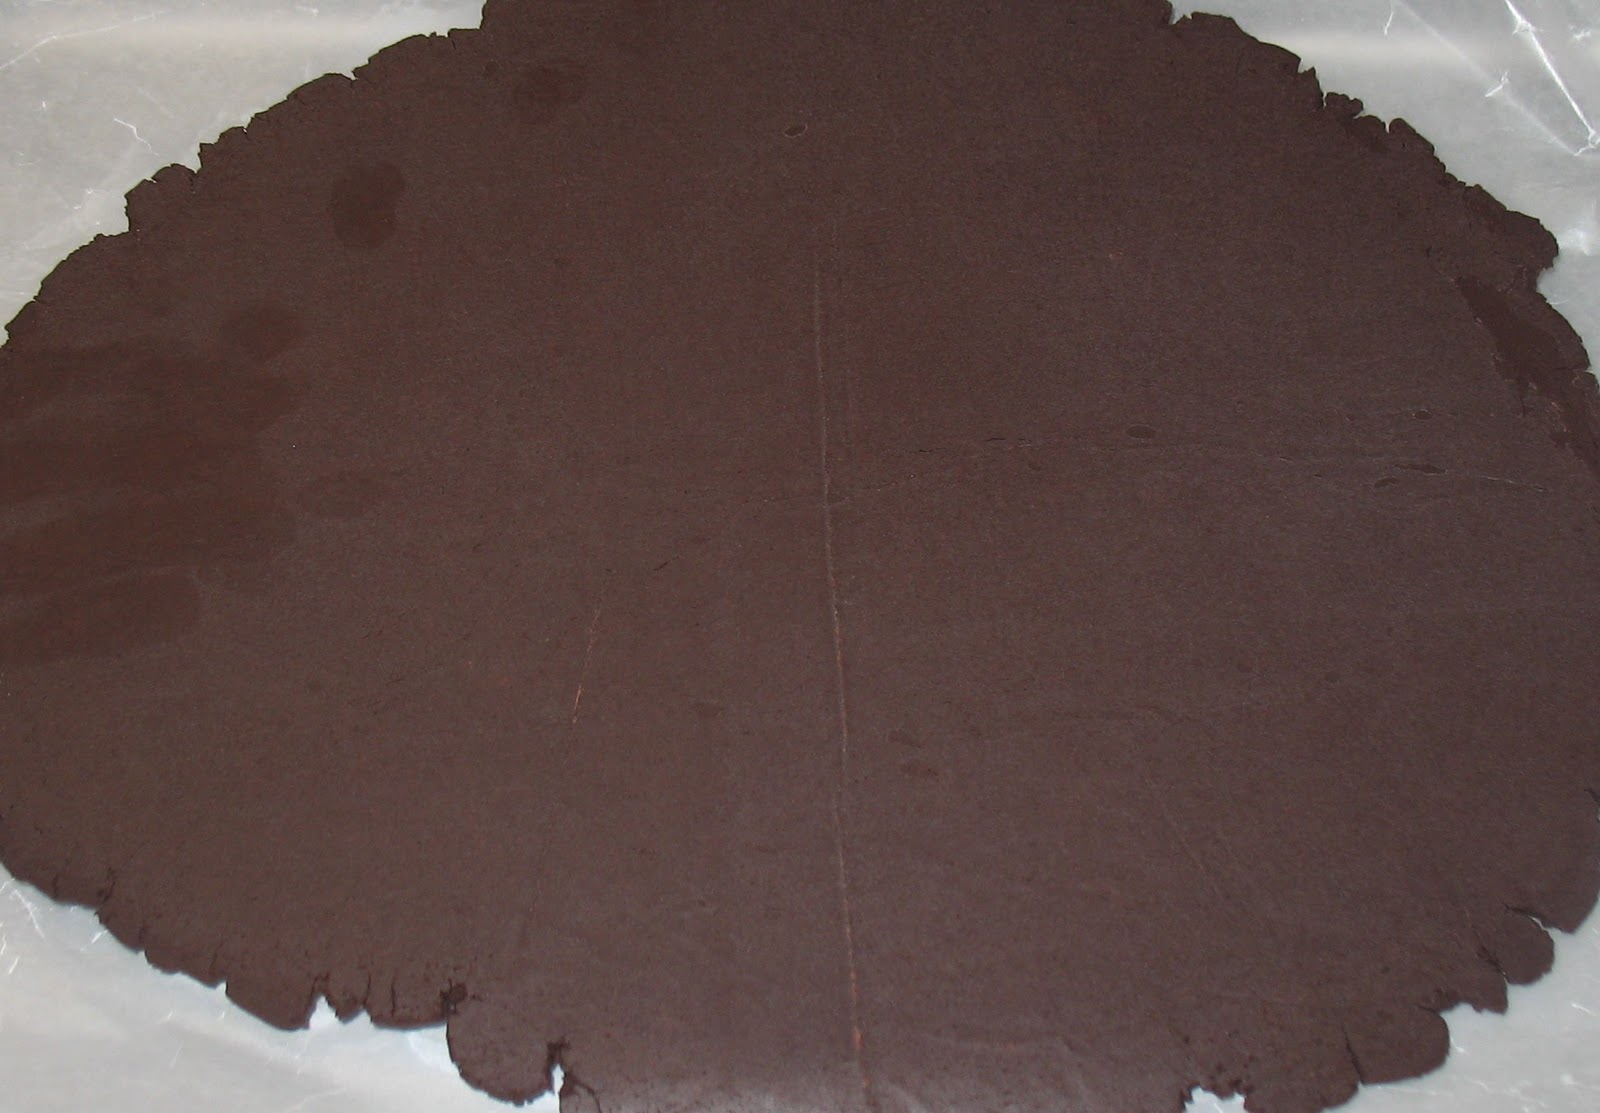
Rolled out homemade chocolate
Ingredients 

For the cookie dough:
  • 1 (8-oz) pkg raw cashews
  • 1/3 - 1/2 cup almond pulp
  • 3/4 cup ground oats (rolled oats ground to a flour consistancy) 
  • 1/4 cup light agave nectar
  • 2 teaspoon vanilla extract
  • 1/4 cup coconut oil   
    Chocolate "chips"
    
For the chocolate chips:
  • 2 Tablespoon coconut oil
  • 1 cup cocoa powder (substitute 1/2 cup carob powder for sweeter, less bitter flavor)
  • 1/4 cup light agave nectar
  • 2 teaspoon vanilla  
Directions 
  1. To prepare the cookie dough: In a food processor, finely ground the cashews. Add the pulp, oats, agave nectar, vanilla, and coconut oil and gently pulse until a dough forms. Form the dough into a large balla nd chill in the refrigerator until ready to use.
  2. To prepare the chocolate chips: Mix all of the ingredients together in a medium bowl until a ball forms. Roll out onto parchment or wax paper (to avoid sticking) and place in the freezer for about 30 minutes. When chocolate is frozen, break into small pieces or "chips". 
  3. 
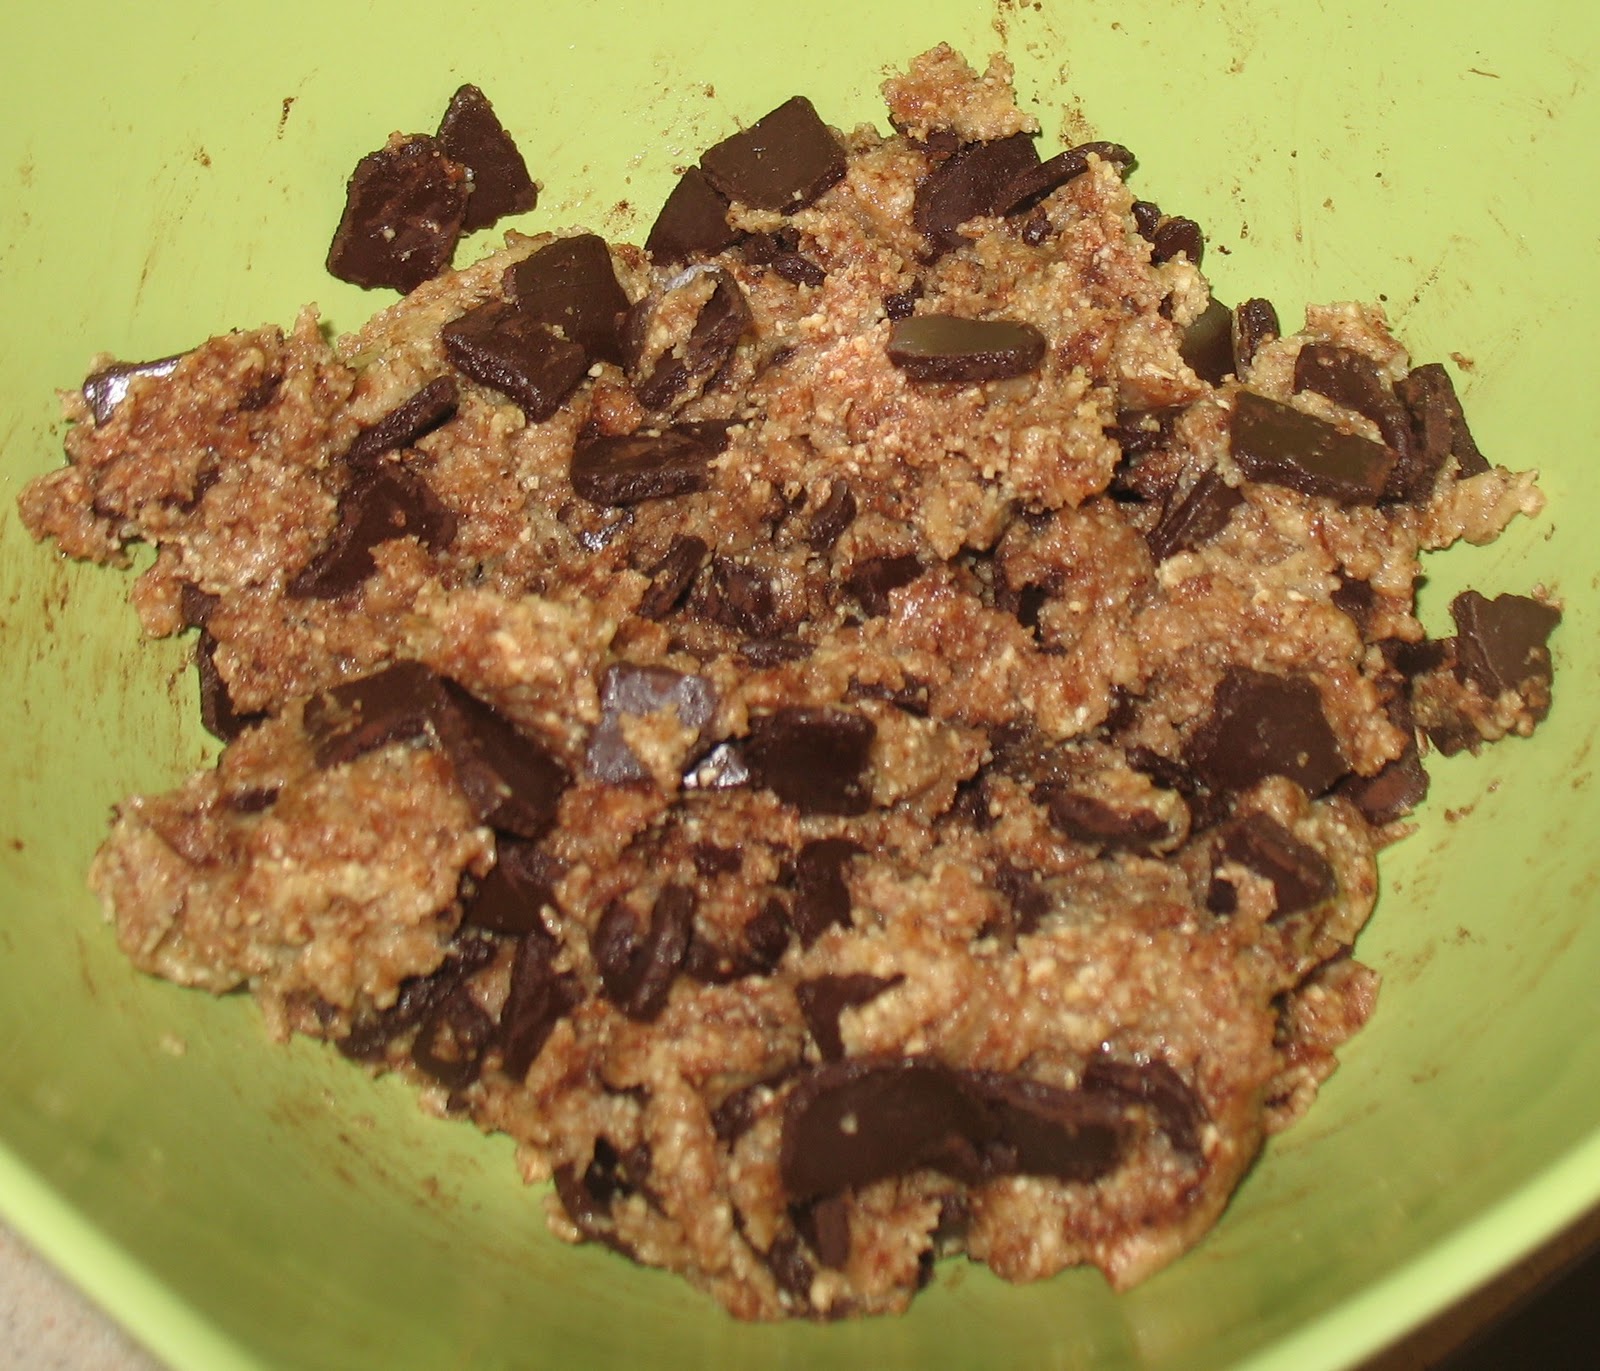
    Mmmm.... cookie dough!! No need to worrry about
    Salmonella with no eggs present! Woohoo!
    To make the raw cookie: Mix the chocolate pieces into the dough. Roll into 1-2 inch balls. Place in a container with parchment or wax paper and refrigerator for at least 30 minutes to harden. 
  4. Other options for this cookie.
    • After rolling into balls, roll in coconut or dip in melted chocolate.
    • Instead of rolling into balls, use a rolling pin to roll out the dough and use cookie cutters.
    • Use other mix-ins: raisins, chopped dates, etc.

Homemade Almond Milk: Take 1

I've been loving almond milk these days! I didn't think I would enjoy it so much, but it really is delicious! And it's nice to know it's healthy for you and loaded with lots of vitamins!

You know what almond milk is so good in? Homemade Hot Cocoa! It is delicious! Cocoa powder, a little raw sugar, almond milk, and some vanilla and almond extracts. Oh my.. it is wonderful!

Well, I heard it was pretty easy to make almond milk yourself, so I decided to give it a try! I found a recipe on a blog I follow: Run Hard Eat Clean.

Finely-ground Almonds

"Almond Joy" (click link to view the original recipe)

Ingredients
  • 1/2 cup almonds
  • 1 tbsp agave nectar
  • 1/2 tsp of vanilla extract
  • 2-5 cups of water
Directions
  1. Blend the almonds in a blender until finely ground. Add the rest of the ingredients to the blender and blend on high until smooth. Leave the "pulp" in for extra thickness or drain using a sieve (or coffee filter) for a milker consistancy. 
  2.  
  3. Refrigerate the milk. Save and refrigerate the pulp for a later use, such as mixing into baked goods!
    The "Pulp"
    Don't discard the ground-up almonds -
    they are perfect for adding to dessert recipes!
    
Well, this was my first time making almond milk, and let's just say you really need to play around with the ratio of almonds to water until you reach your personal preference. With 1/2 cup almonds and 4 cups of water, I felt the mixture was a little too watery. More water if you want your milk closer to a skim milk consistancy, and less water (or more almonds) if you want a creamier consistancy. Next time I will have to trying reducing the amount of water to 2 - 3 cups.

Keep posted for a recipe I made with the almond pulp!

Tuesday, January 11, 2011

Raw Dessert #2: Banana Nut Bars

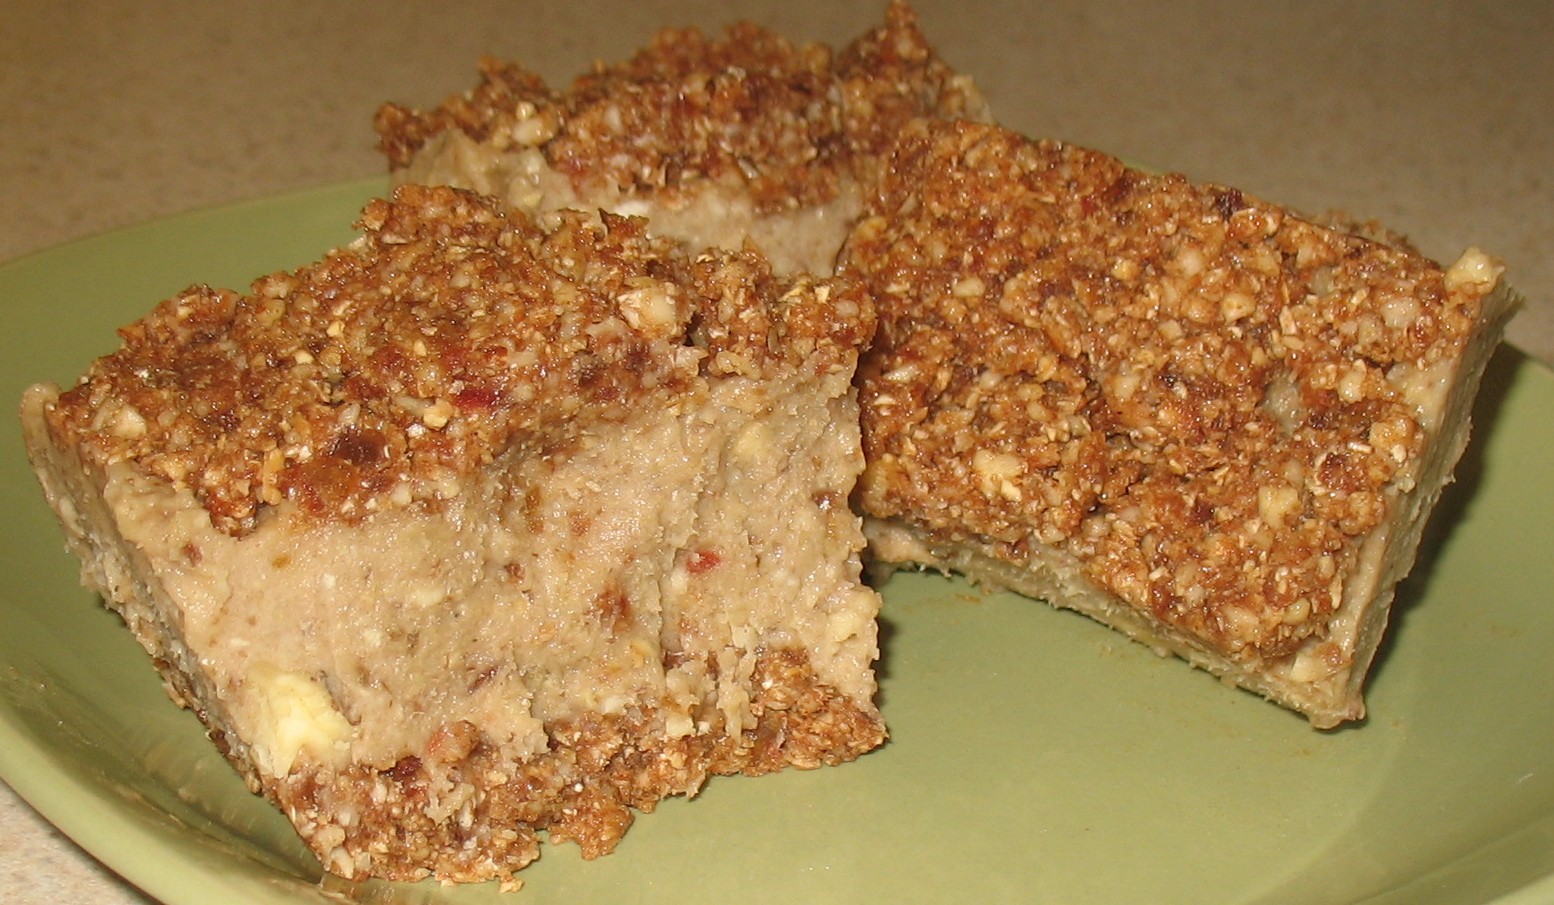
So, loving the idea of raw desserts and after a successful first try at a raw recipe (brownies), I decided to search for other raw dessert recipes! Indeed, I found another good one! Banana Nut Bars! Tastes like banana bread but RAW and so delicious! I think the next time I make this I'd like to incorporate cocoa or chocolate chips into it! Enjoy!

Raw Banana Nut Bars (Original Recipe)

Ingredients

For the Crust:
  • 1 cup finely ground rolled oats (from about 1 1/3 cup rolled oats)
  • 1 cup finely ground raw almonds
  • 1/2 cup finely chopped Medjool dates
  • 1/2 tsp sea salt
  • 1/4 cup agave nectar or maple syrup
  • 2 tbsp fresh orange juice
 For the Filling:
  • 1 cup finely ground raw cashews
  • 3 cups mashed ripe banana
  • 1/2 cup finely chopped Medjool Dates
  • 2 tbsp maple syrup
  • 2 tbsp coconut manna (or coconut oil)
  • 1/4 tsp sea salt
  • 1/4 cup chopped walnuts (optional)
Directions
  1. Line an 8x8 Pyrex dish with parchment paper and set aside.
  2. In a food processor, combine the finely ground rolled oats, ground almonds, Medjool dates and sea salt. Gently pulse until combined. Add the agave nectar and orange juice, gently pulsing until the the mixture just holds together but is not wet. Press half of the mixture into the bottom of the prepared pan and place in the freezer while moving on to the next step.
  3. To make the banana filling: In a blender or food processor, blend all of the ingredients except for the chopped walnuts until creamy. Stir in the chopped walnuts by hand. Take the prepared pan out of the freezer and pour the banana filling on top of the crust. Place back in the freezer for 30 minutes.
  4. Press the remaining crust mixture on top of the banana mixture, then return the pan to the freezer for 1 hour more. Serve cold.


Wednesday, January 5, 2011

A Healthy Dessert to Kick-Off the New Year: Raw Brownies!

Happy New Year! Did everyone make their new year's resolutions? I decided my new year's resolution would be to start making healthier desserts. As most of you know, I have a HORRIBLE sweet tooth. I may eat mostly healthy meals, but that all goes out the window when dessert is in front of me! Oy vey!

I had never heard of a "raw" diet until only recently. To get a better understanding of what exactly a raw food diet is, I've found some websites that sum it all up pretty well!

Alternative Medicine: Raw Food Diet
WebMD: Raw Food Diet
Raw Food Health Watch
Raw Guru

As most of you also know I've been somewhat curious about the vegan diet, so I began following some vegan blogs to get some recipe ideas. Turns out, Dreena's Vegan Recipes posted a recipe for raw brownies!

Dreena's Frosted B-raw-nies

Ingredients

For the brownies:
  • 1 cup raw almonds
  • 1/4 cup raw cashews
  • 1/2 cup raw walnuts
  • 1 3/4 cups (packed) pitted medjool dates
  • 1/4 cup dried organic pitted cherries
  • 1/3 cup cacao (raw cocoa powder) or regular cocoa powder
  • 1-1/2 tsp vanilla extract
  • 1/4 tsp sea salt
  • 1/2 tsp almond extract (optional) 
For the frosting:
  • 1/2 cup coconut butter (Nutiva Organic Coconut Manna)
  • 1/4 cup raw agave nectar
  • 2 tbsp cacao (raw cocoa powder) or regular cocoa powder
  • pinch sea salt 
Directions
  1. In a food processor, first add the almonds and cashews and process until very fine (the almonds are the hardest, and need to be worked until crumbly).
  2. Then add walnuts, dates and cherries and pulse/process until mixture is quite crumbly, but not yet coming together. *Note: If the dates are on the dry side, add 1-2 tbsp water.
  3. Add the cocoa powder, salt, and vanilla and almond extracts and pulse through. Process until the mixture starts to come together but do not overmix so that the nuts release their oils. *Note: Heat generated by the food processor will bring the oils out of the nuts if overmixed.
  4. Remove the mixture and press into a brownie pan (8” x 8”) lined with parchment paper. Use a small piece of the parchment to help press and flatten the mixture evenly into the pan.
  5. For the frosting, in a mini-food processor, first combine the coconut butter and agave nectar until smooth. Then add the cocoa powder and salt, and pulse through again until just combined. Do not overprocess or the frosting will begin to separate with the heat of the churning and become oily. (If you don’t have a mini-processor, you can follow the same steps stirring by hand in a bowl).
  6. Smooth frosting over the brownies, and refrigerate for an hour or more until set. Cut into squares and serve! These brownies are freezer-friendly!
I would like to give a special thank you to Dreena, the creater of these amazing raw brownies! They were perfect! I love how they are naturally sweet and the chocolate-coconut frosting pairs wonderfully with this brownie. Honestly, it doesn't even taste like you're eating dried fruits! This was my first "raw" recipe to try and I'm excited to try more in the future.